
©2015 -


Information Technology


HOW TO INSTALL AND CONFIGURE COUCHBASE SERVER -
Prepare Repository For Data And Index
In my case, I'll be using the default path for the data repository. Since the data directory ($CB_HOME/var/lib/couchbase/data) already exist during install, we'll create a separate path for the index. We create this directory in all the nodes of the cluster.
mkdir $CB_HOME/var/lib/couchbase/index
The paths we setup may vary as we move to configure the rest of the nodes. But it would be best if we remain consistent on the way we declare the data path and index path.
As best practice for production implementation, it is suggested to have separate mount and storage systems for the data and index paths.
Browse to http://host_name:8091/ to configure your server.
http://lxnode1.vlabs.net:8091
1. Select setup.
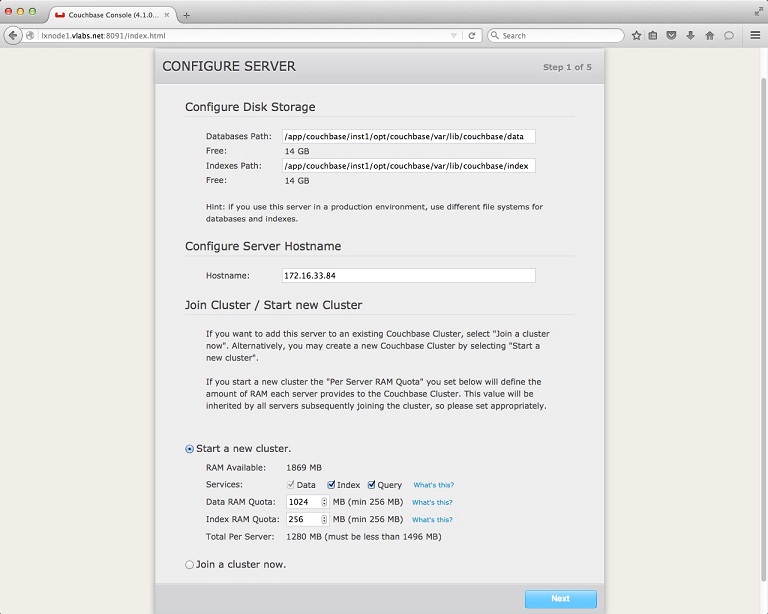
2. Configure the correct storage path, the instance host, and select start new cluster if this is the first node being built.
Here are the default values:
Here are my changes:
Indices: /app/couchbase/inst1/opt/couchbase/var/lib/couchbase/index
Hostname: 172.16.33.84 << This is the VIP (lxnode1cb-
Per Server Data RAM Quota: 1024 MB << This will be the server memory allocated for all the nodes in the cluster.
Per Server Index RAM Quota: 256 MB Minimum is 256 MB for dev. Default for prod is 2294 MB minimum.
For the RAM quota assignments, make sure all nodes can support whatever the value you declare.
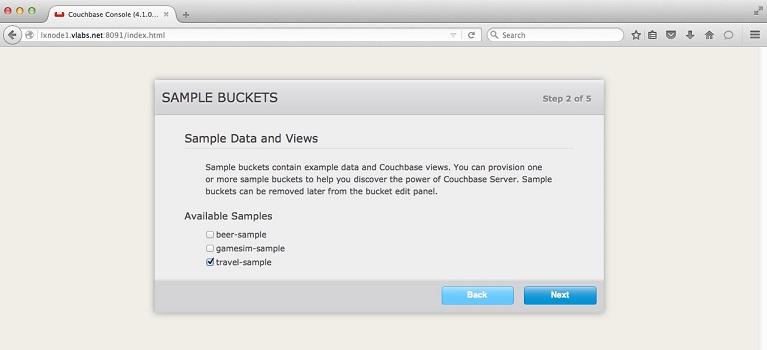
3. Sample Buckets
Since we plan to learn more about Couchbase, it's good to pre-
4. Create Default Bucket
You can go ahead to create a bucket named -
You may accept all pre-
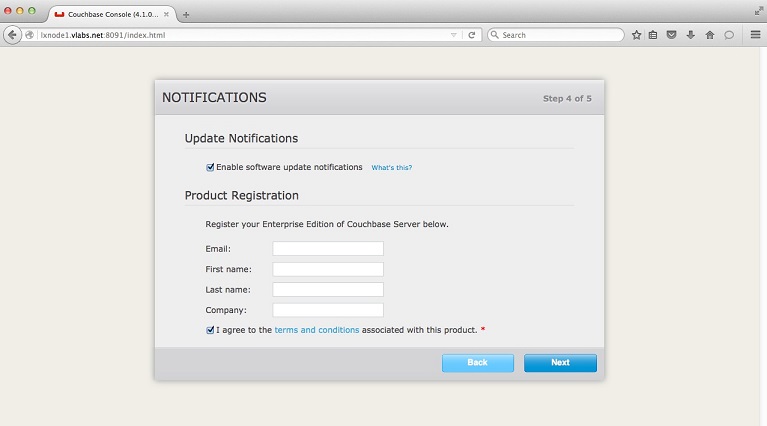
5. Notifications.
You have the option to enable software update notifications which I recommend.
You also have the option to register by providing your email and be part of the Couchbase community.
Check to agree with the terms.
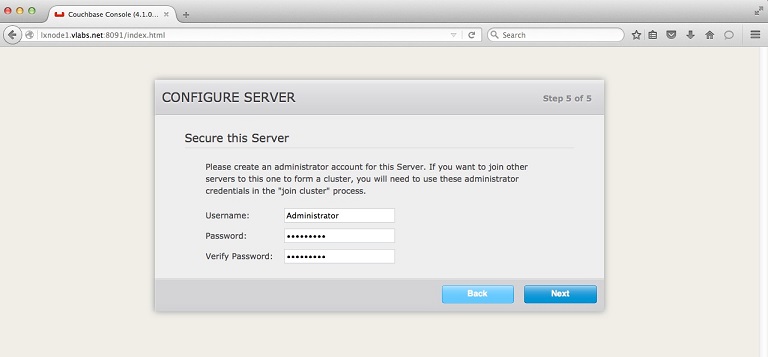
6. Administrator
Provide the username of your administrator and password.
Default user is Administrator.
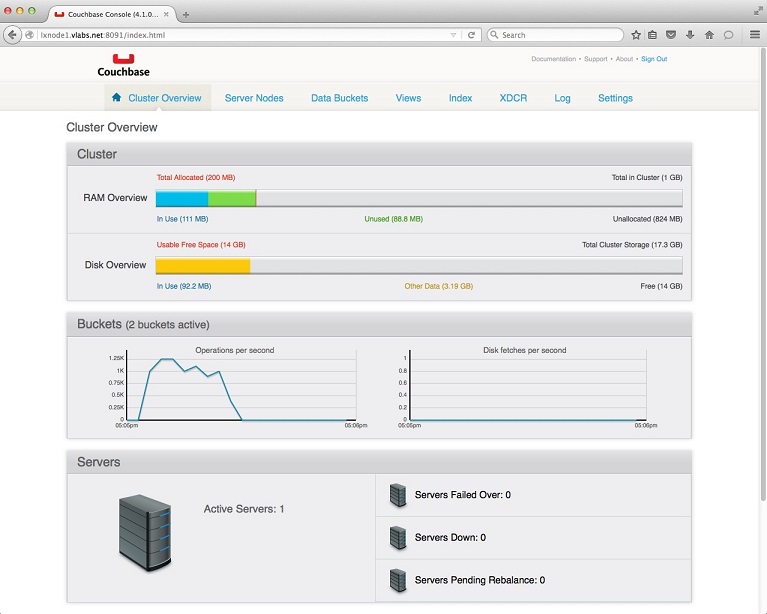
7. Couchbase Management Console
Once the setup is done, you'll be presented with a management console with the Cluster Overview.
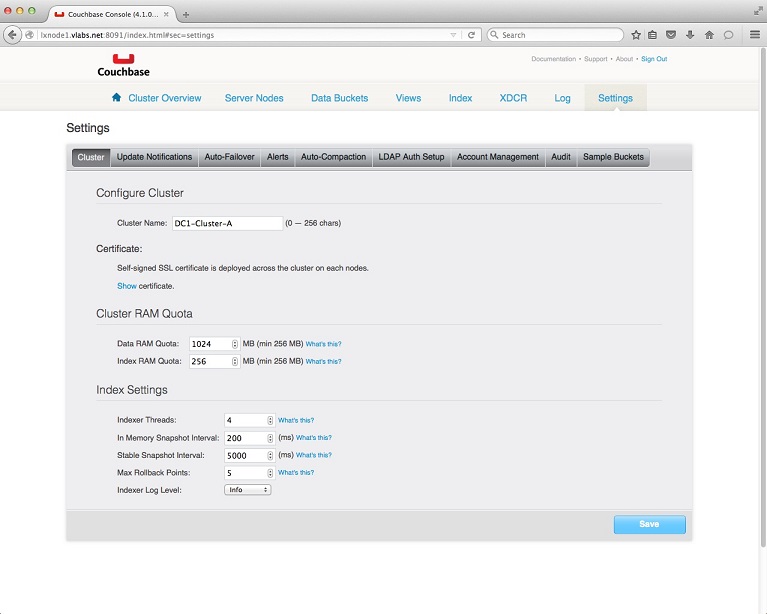
Click Settings tab, and name your cluster. In my case I named it DC1-
Congratulations! We now have your first Couchbase Cluster!
To add more members to our DC1-
A sample details of adding a node are being discussed in the next page.