
©2015 -


Information Technology


Installing SQL Server 2008 R2 In Windows Server 2012 R2 -
Verify The Version And Service Pack Installed
Connect to the server by using Object Explorer in SQL Server Management Studio.
After Object Explorer is connected, it will show the version information in parentheses, together with the user name that is used to connect to the specific instance of SQL Server.
A more detailed info is to right-
RELEASE PRODUCT VERSION
SQL Server 2008 R2 Service Pack 2 10.50.4000.0
SQL Server 2008 R2 Service Pack 1 10.50.2500.0
SQL Server 2008 R2 RTM 10.50.1600.1
For a list of version numbers per release, see -
Changing Server Authentication Mode
During the install, we were prompted for the type of server authentication mode between Windows Authentication or Mixed Mode (SQL Server Authentication and Windows Authentication). We had selected Windows Authentication. In case we change our minds and go for having SQL Server Authentication which comes handy when doing remote admin via the client SQL Server Management Studio, the following support note -
Here’s one of the methods to change from Windows Authentication onto Mixed Mode:
USING MANAGEMENT STUDIO
1. Change Security Authentication
1.1. In SQL Server Management Studio Object Explorer, right-
1.2. On the Security page, under Server authentication, select the new server authentication mode, and then click OK.
1.3. In the SQL Server Management Studio dialog box, click OK to acknowledge the requirement to restart SQL Server.
1.4. In Object Explorer, right-
2. Enable The sa Login
Note: The sa login remains disabled even when we switched the security authentication.
2.1. In Object Explorer, expand Security, expand Logins, right-
2.2. On the General page, you might have to create and confirm a password for the login.
2.3. On the Status page, in the Login section, click Enabled, and then click OK.
Restart Windows Server.
POST INSTALLATION TASKS
For SQL Server 2008 R2 running on Windows Server 2012 R2, you must apply SQL Server 2008 R2 Service Pack 2 (SP2) or higher.
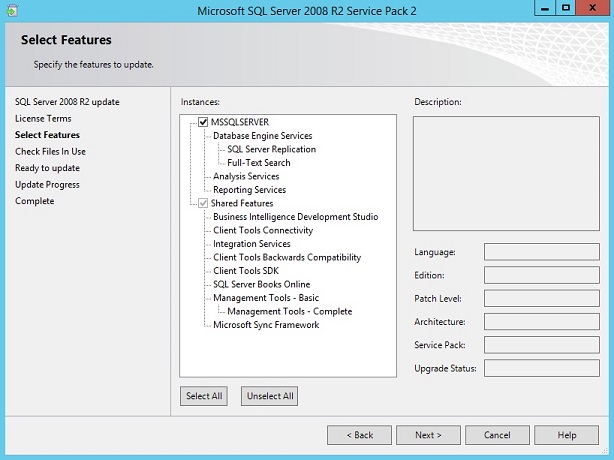
Install SQL SERVER 2008 R2 SP2
Minimum spec: http://support.microsoft.com/kb/2681562
Download SP2: http://www.microsoft.com/en-
Download the Service Pack 2 from the link above. Run the installer and select the appropriate instance (MSSQLSERVER) for this to be applied on.
Keep in mind that a Service Pack intended for SQL Server 2008 will not work on SQL Server 2008 R2. If you had done so, a dialog box will appear with a message stating that there are no instances running for the Service Pack to apply. Also, make sure that you have the correct compiled binary of the Service Pack (x64 vs. x86) to apply against the installed SQL Server. Otherwise, you’ll get confusing errors and messages.
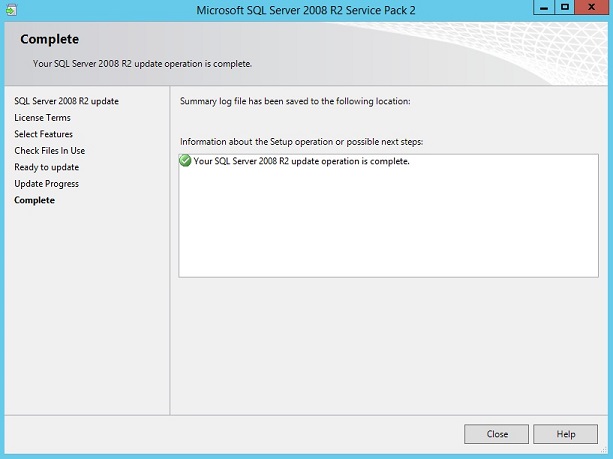
Just follow on the installation sequences to complete the installation.